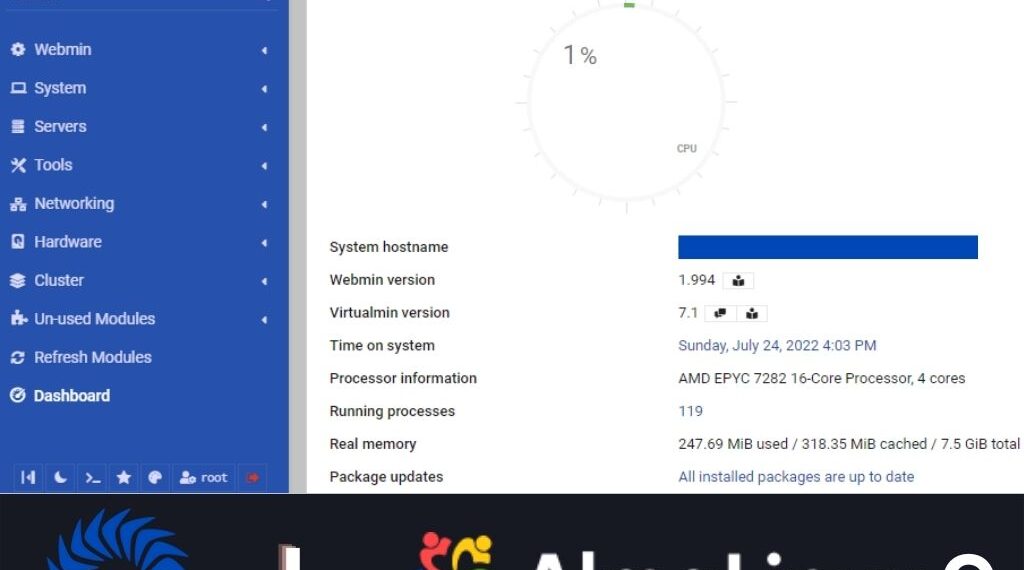
If you are coming from Ubuntu, or perhaps from CentOS, or any other server OS, we will walk through the process of installing Virtualmin and Webmin on AlmaLinux 9 in four easy-to-follow steps.
1. Login to SSH
Login to your server as the root user through SSH using the credentials obtained during server configuration.
2. Download
Run the following command to download Virtualmin 7 release, that supports AlmaLinux 9:
wget -O install.sh https://raw.githubusercontent.com/virtualmin/virtualmin-install/master/virtualmin-install.sh3. Run installer script
Run the following command to start the install process
/bin/sh install.sh4. Follow the instructions
After running the script from above, you should get the following message in the terminal:

Type y and hit enter.
During the installation, the installer will proceed through three phases during which you will not be required to take any action.
1st phase – Setup:

2nd phase – Installation:

3rd phase – Configuration:

Cleanup and success message:

Go to your website url and add port 10000 and you should get webmin login page: examplewebsite.something:10000

Login data:
Username: root
Password: The same as for the SSH login
Conclusion
Essentially, the Vritualmin installation on AlmaLinux 9 is complete.
We have utilized the pre-release version of Virtualmin, as it is compatible with AlmaLinux9. Additionally, you may read more on Virtualmin’s github website.
I hope this article was helpful and that everything went smoothly for you.
Thank you for reading the article.


